“Ledger.com/start”
Setting up a hardware wallet for the first time can feel confusing, especially if you are new to cryptocurrency. That’s why Ledger.com/start exists. It is the official setup page for all Ledger hardware wallets, such as Ledger Nano S Plus and Ledger Nano X. This page helps new users activate their device safely, install the Ledger Live app, and start managing their crypto securely. In this article, you’ll learn what Ledger.com/start is, why it matters, and how to follow the setup process in simple, easy-to-understand steps.
What Is Ledger.com/start?
Ledger.com/start is the official onboarding website created by Ledger. When you purchase a Ledger device, this is the first place you should visit. The site tells you how to unbox your wallet, download the Ledger Live application, and set up your PIN and recovery phrase. It also provides safety tips, device updates, and important reminders to help you avoid scammers.
Ledger designed this page so beginners can set up their hardware wallet with confidence and without mistakes. It ensures the process is secure and easy to follow.
Why Use a Ledger Hardware Wallet?
Cryptocurrency stored on exchanges or mobile apps can be vulnerable to hacking, phishing, or platform failures. When you keep your funds on someone else’s platform, you do not fully control your crypto.
A Ledger hardware wallet gives you full control and protects your private keys offline. This means:
Your crypto stays safe even if your phone or computer is hacked.
You must physically approve transactions on your device.
No one can transfer your funds without your PIN.
Your private keys never leave the device.
Ledger devices use certified secure chips and a strong operating system, helping millions of users protect their assets.
Using Ledger.com/start: Step-by-Step Setup Guide
1. Visit the Official Website
Start by going to the correct link:
Always type it manually or use a trusted source. Avoid clicking on sponsored ads or “look-alike” URLs. Scammers often create fake websites to steal users’ recovery phrases, so double-check the spelling.
2. Unbox Your Ledger Device
Open your Ledger Nano X or Nano S Plus box and make sure everything is included. You should see:
The Ledger hardware wallet
A USB-C cable
Recovery phrase sheets
A quick-start guide
Ledger stickers
Make sure your device is not already set up. Ledger never provides a pre-written recovery phrase. If your box includes one, it is a scam.
3. Download Ledger Live
From Ledger.com/start, you will be prompted to download Ledger Live, the official application used to manage your crypto assets.
Ledger Live is available for:
Windows
macOS
Linux
iOS and Android (mobile version)
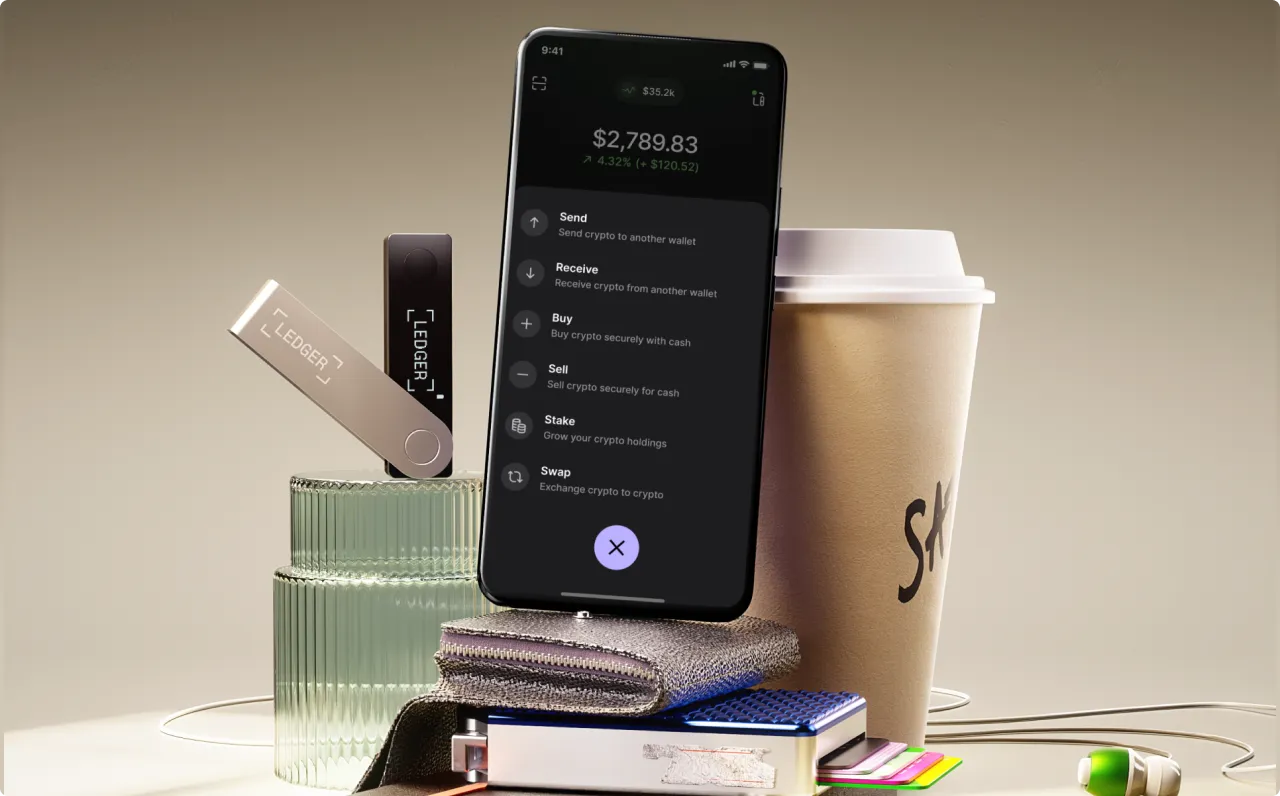
Ledger Live lets you:
Send and receive crypto
Buy and swap assets
Install apps for each cryptocurrency
View your portfolio
Update your device firmware
Manage settings and security features
Download it only from the official website to stay safe.
4. Install Ledger Live and Open It
Once installed, open Ledger Live. You will see a simple setup wizard that guides you through the process. You will be asked which device you are using (Nano S Plus or Nano X), and then given clear instructions to follow.
5. Connect Your Device
Plug your Ledger device into your computer or phone using the cable provided. Ledger Live will automatically recognize it.
You will then be guided through:
Initializing the device
Setting up a new wallet
Installing firmware if needed
Follow each step carefully.
6. Set Up Your PIN
Your device will ask you to create a PIN. This PIN is needed every time you use the device, so choose a number that is strong but memorable.
Your PIN prevents others from using your Ledger wallet even if they get physical access to it.
7. Write Down Your Recovery Phrase
This is the most important part of the setup. Your Ledger device will show you a 24-word recovery phrase.
You must:
Write down all 24 words in order
Store them safely
Never take a photo
Never save them on your phone or computer
Never share them with anyone
If you lose your device, this recovery phrase is the ONLY way to recover your crypto. Ledger will never ask for it, and no support team should ever request it.
8. Confirm Your Recovery Phrase
Your Ledger device will ask you to confirm the recovery phrase by selecting the correct words in the correct order. This ensures you wrote them down accurately.
Once confirmed, your hardware wallet is officially secured.
9. Install Crypto Apps and Add Accounts
In Ledger Live, each cryptocurrency requires its own app. For example:
Bitcoin App
Ethereum App
Polygon App
Install the apps you need, then add accounts for each crypto. After adding your accounts, you can send and receive funds securely.
10. Start Managing Your Crypto
Now your Ledger wallet is ready. You can use Ledger Live to:
Check your balances
Receive funds
Make transfers (confirming each one on the device)
Buy or swap assets
Track your portfolio
Update firmware when required
All transactions must be approved physically on your Ledger device, ensuring maximum protection.
Final Thoughts
Ledger.com/start is the safest and simplest way to set up your Ledger hardware wallet. By following the official instructions—visiting the real website, installing Ledger Live, creating a PIN, and storing your recovery phrase carefully—you protect your crypto with one of the most secure solutions available today. Once the setup is complete, you gain full control of your digital assets and can manage them confidently using Ledger Live.